13th Squadron
Albatros DVa V1 Plans
Albatros DVa V1 Plans
Couldn't load pickup availability
Share
Information
Overview
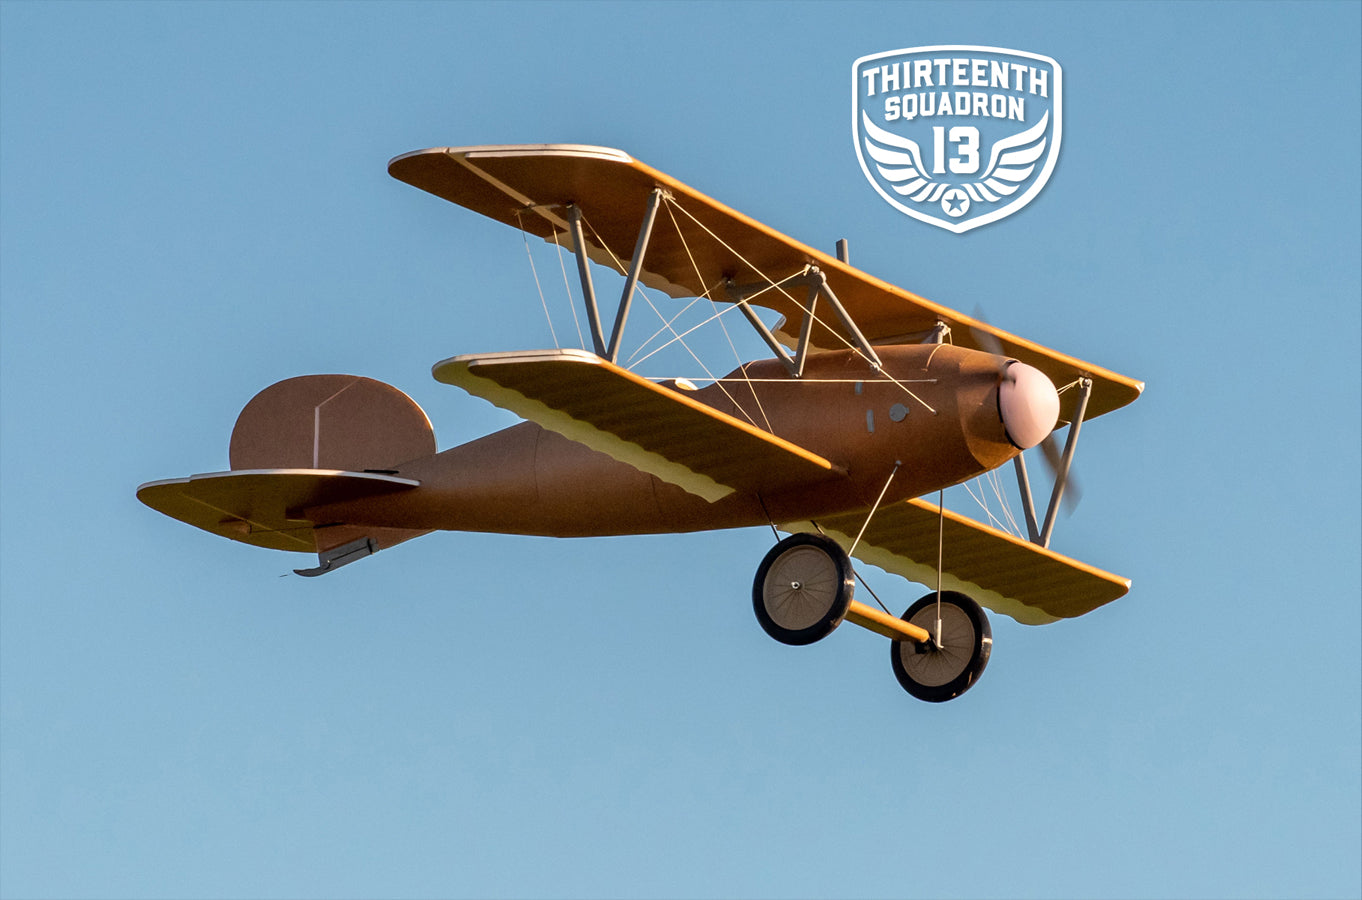
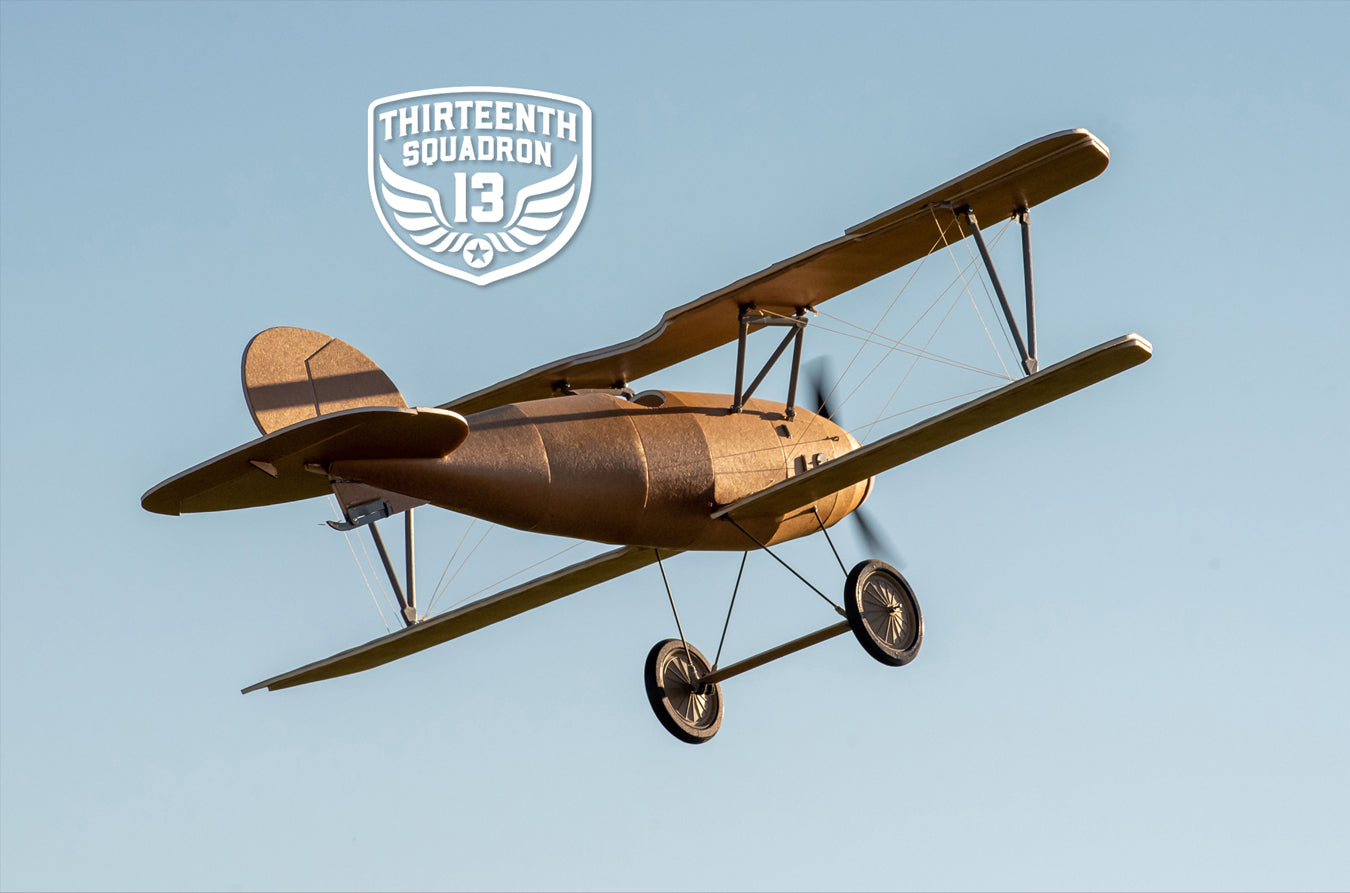
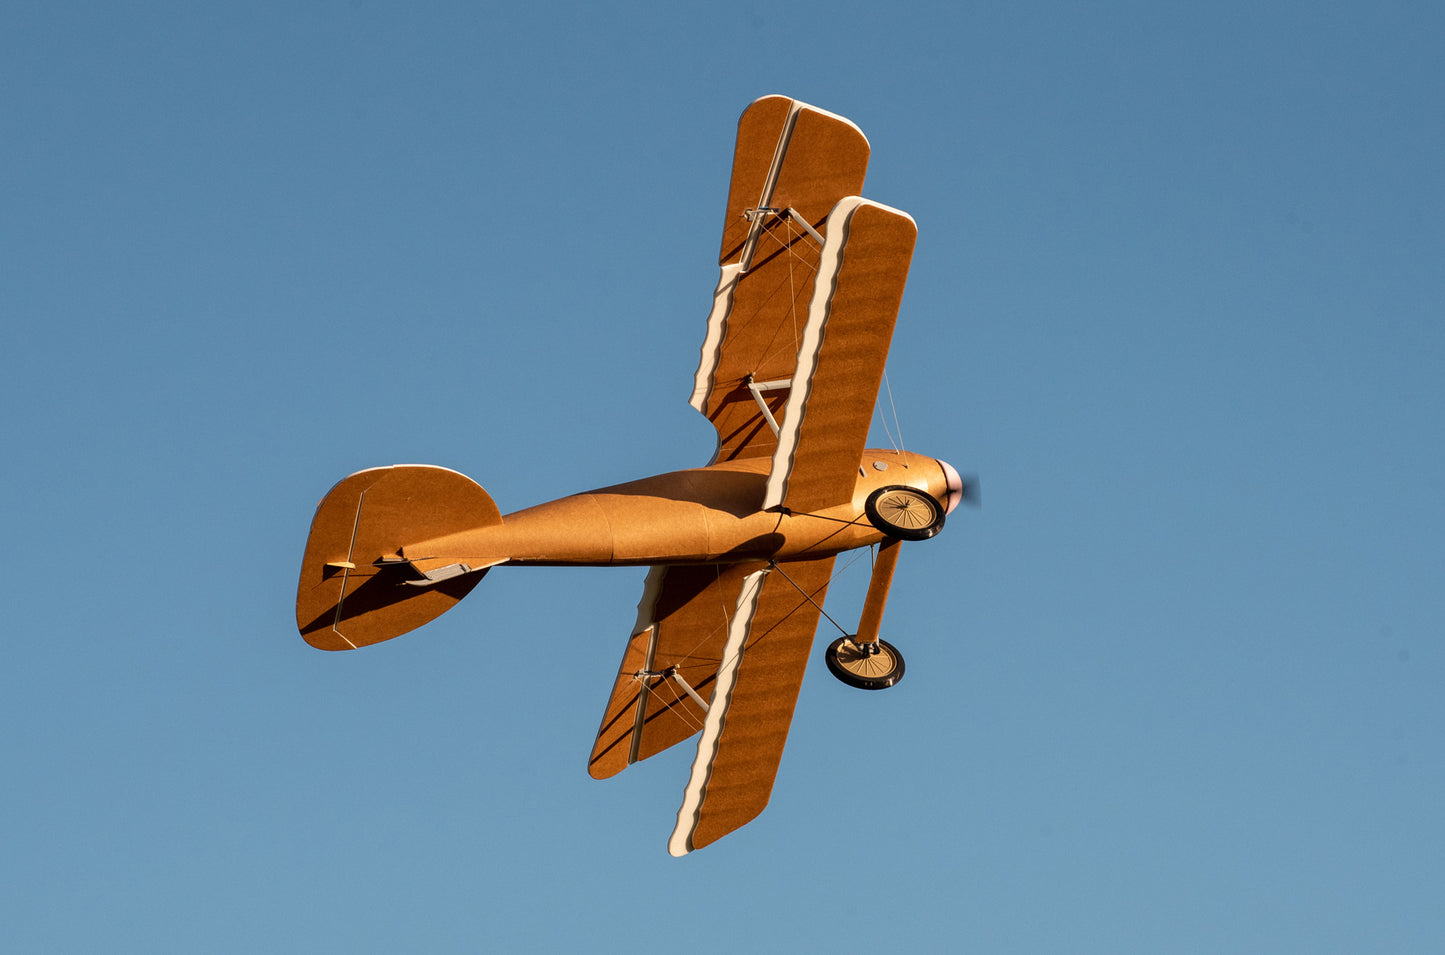
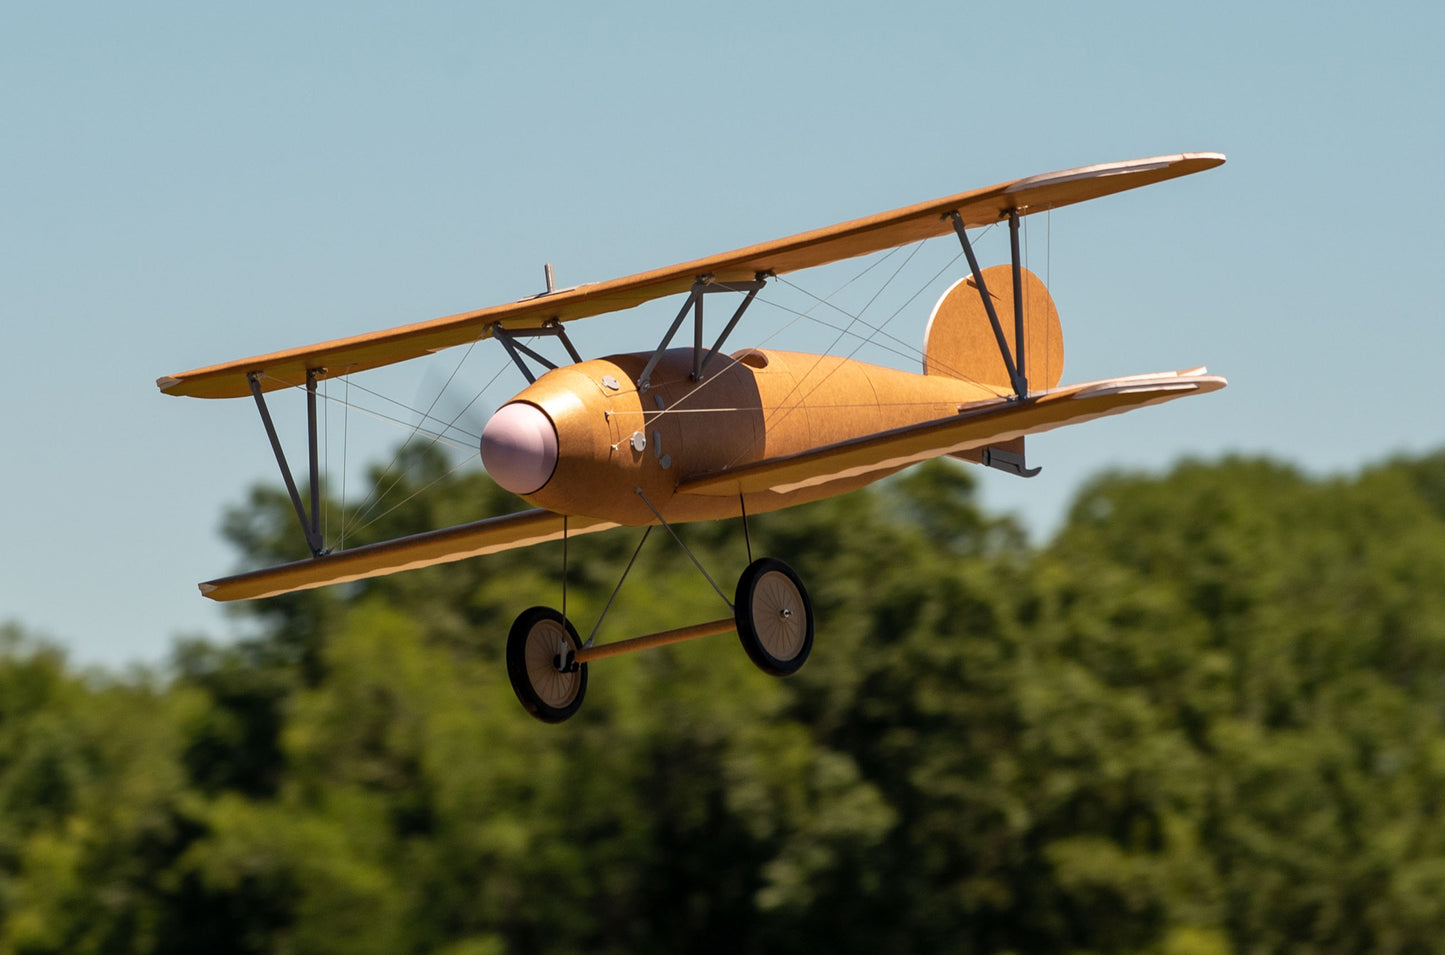
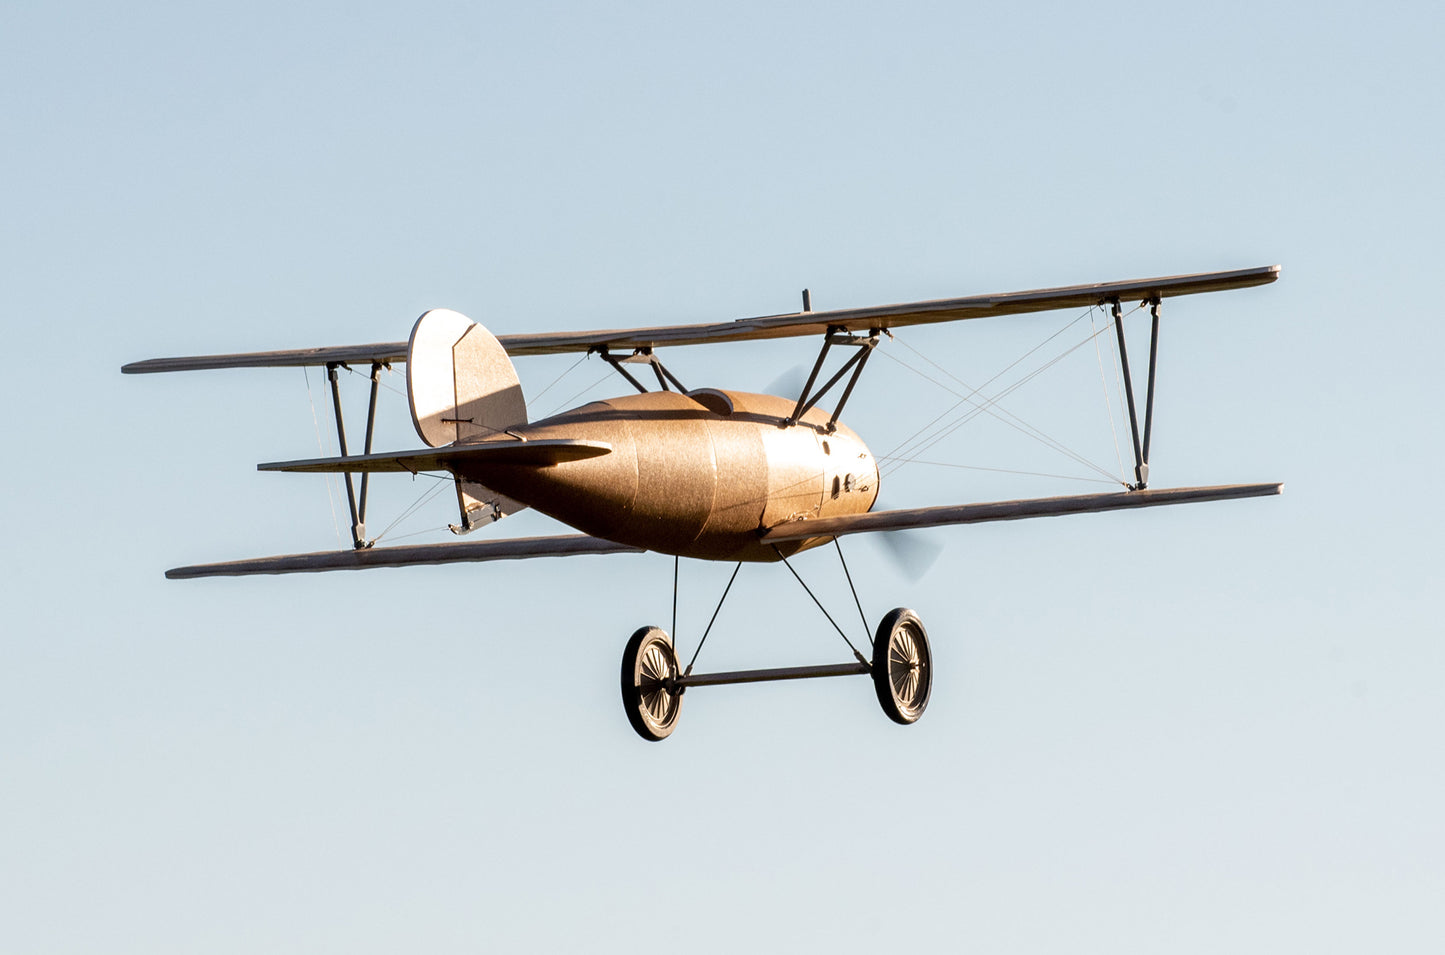
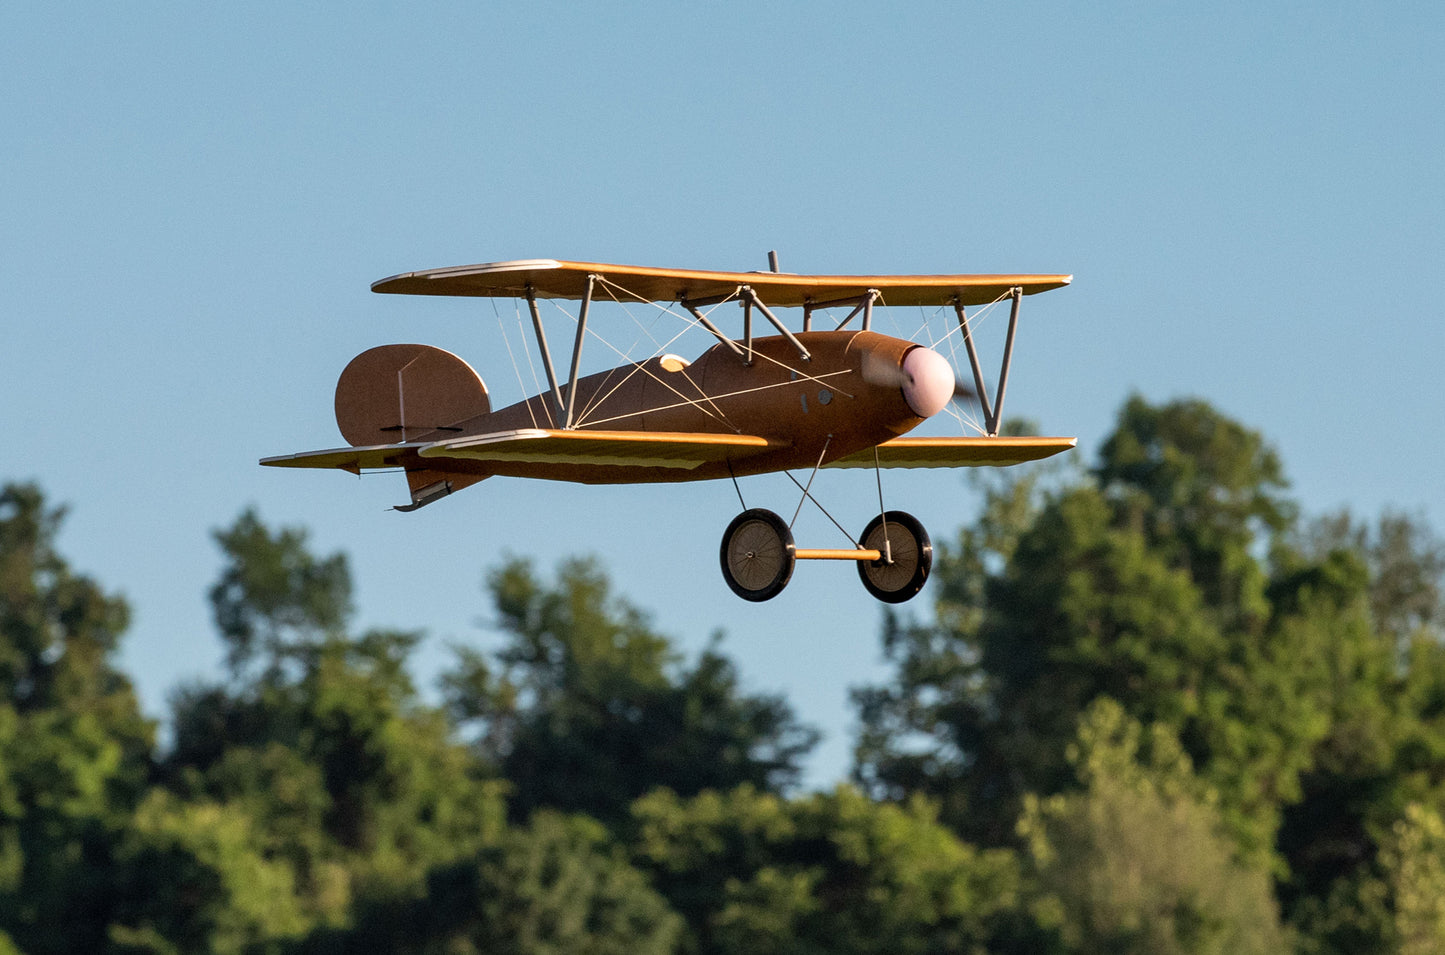
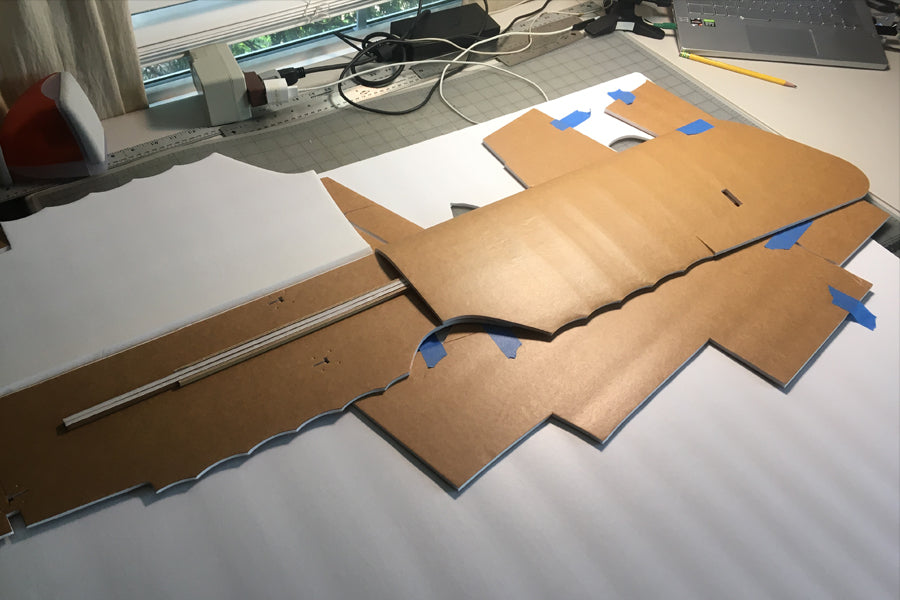
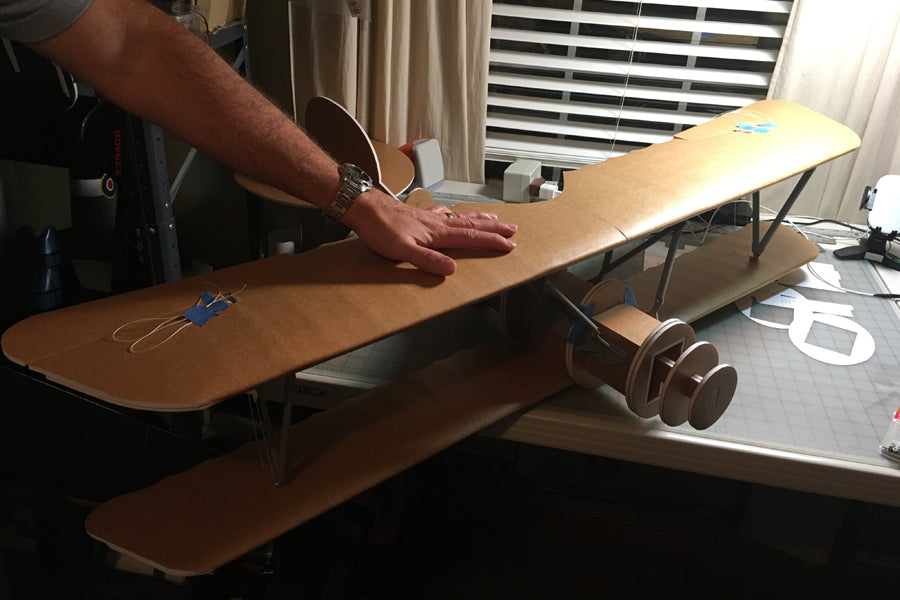
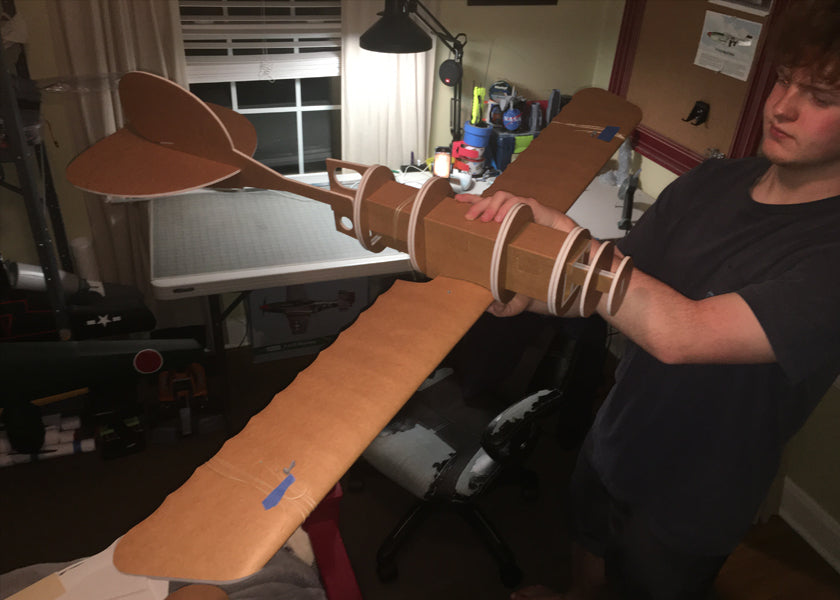
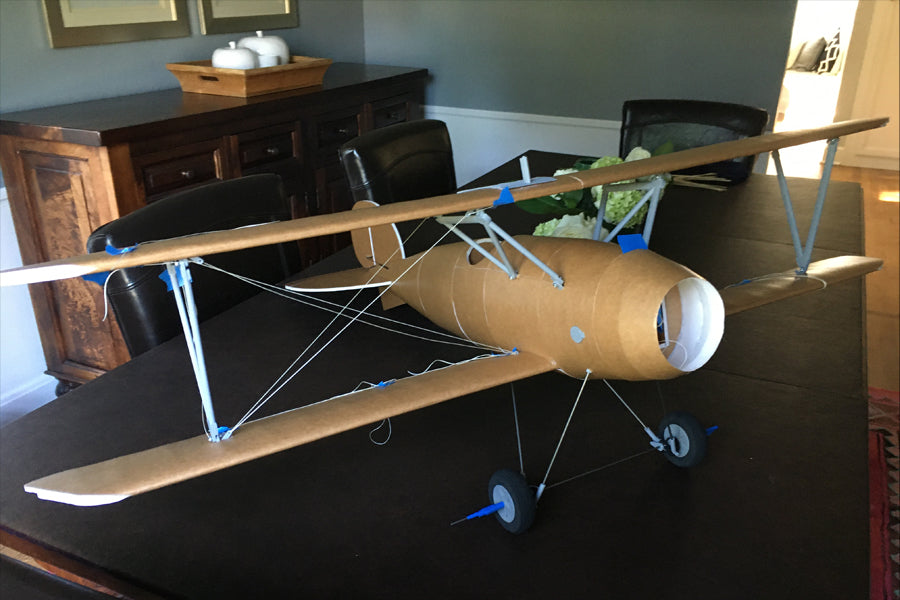
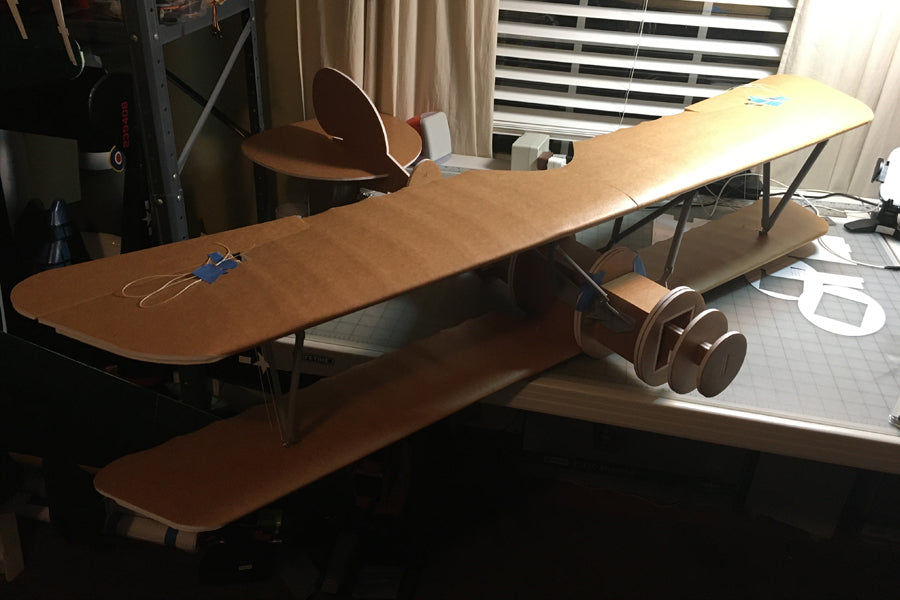
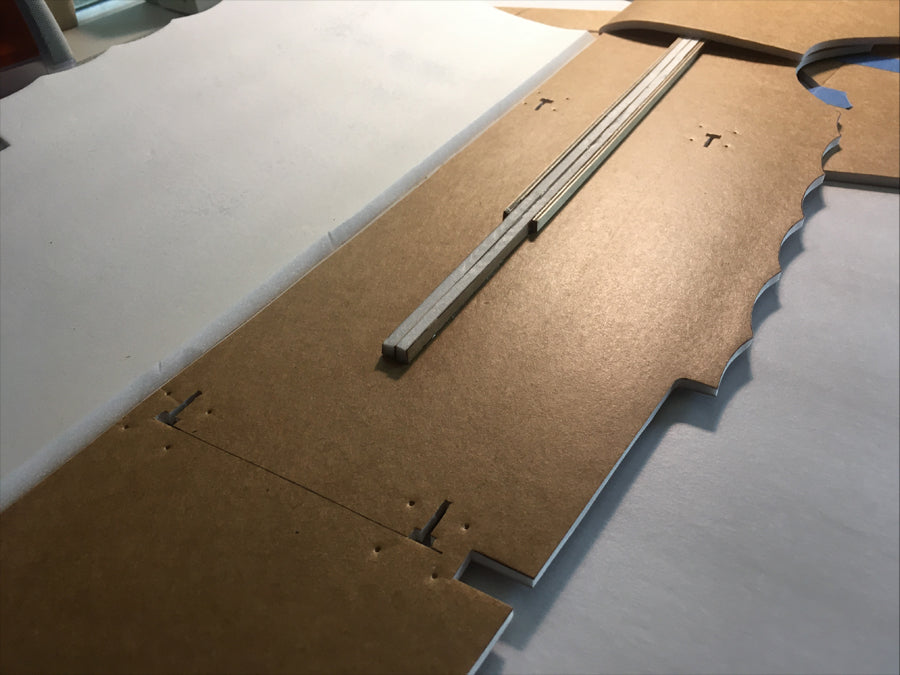
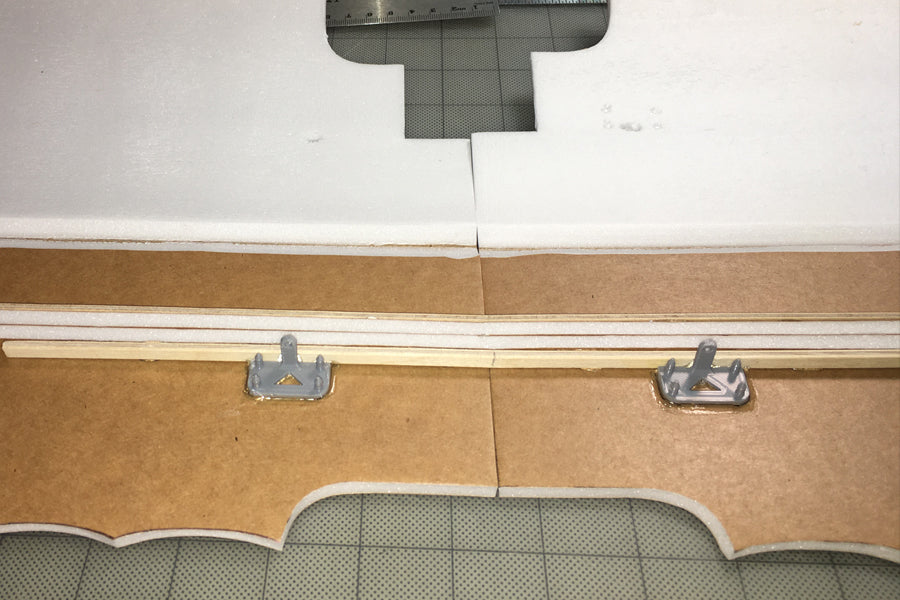
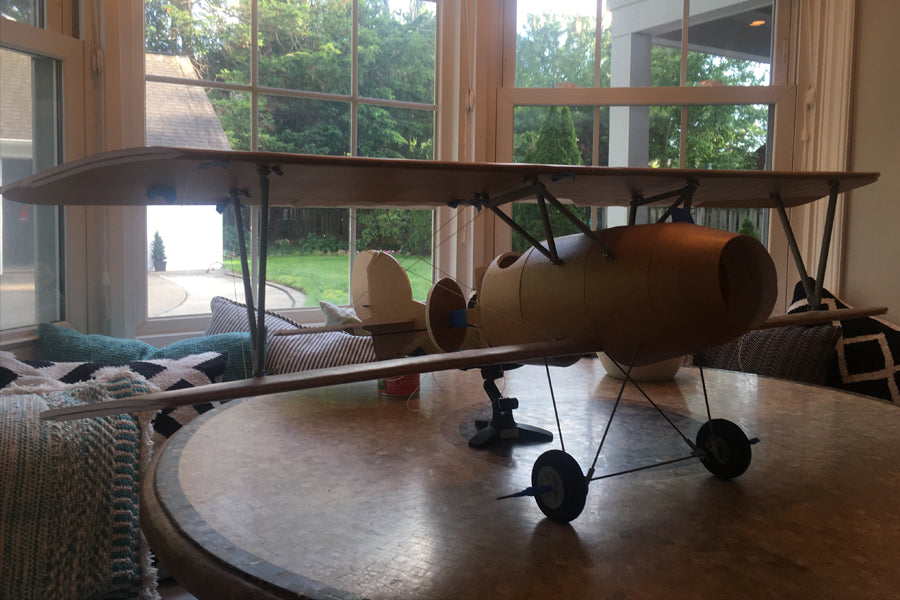
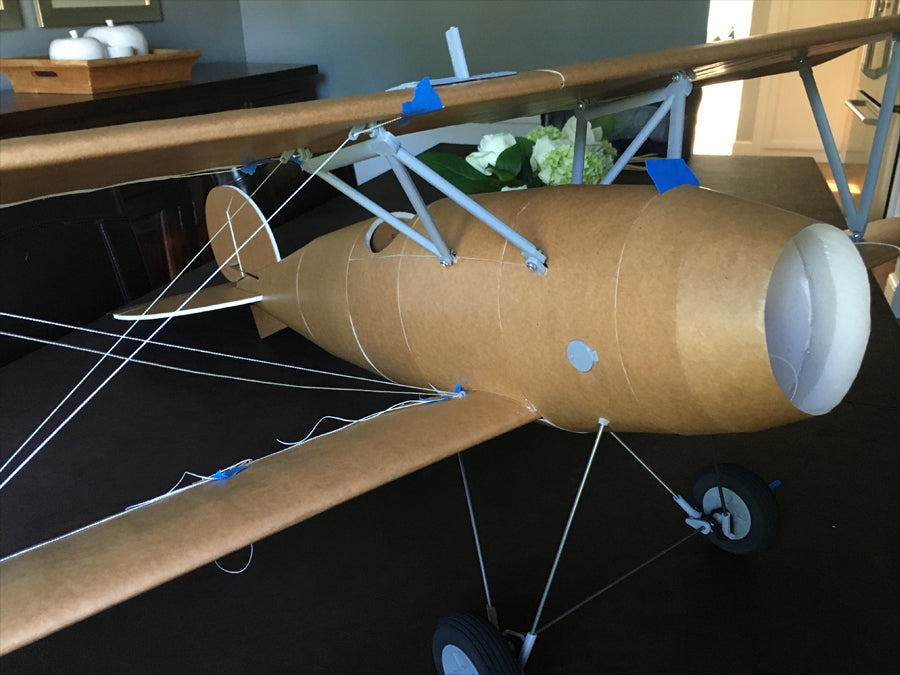
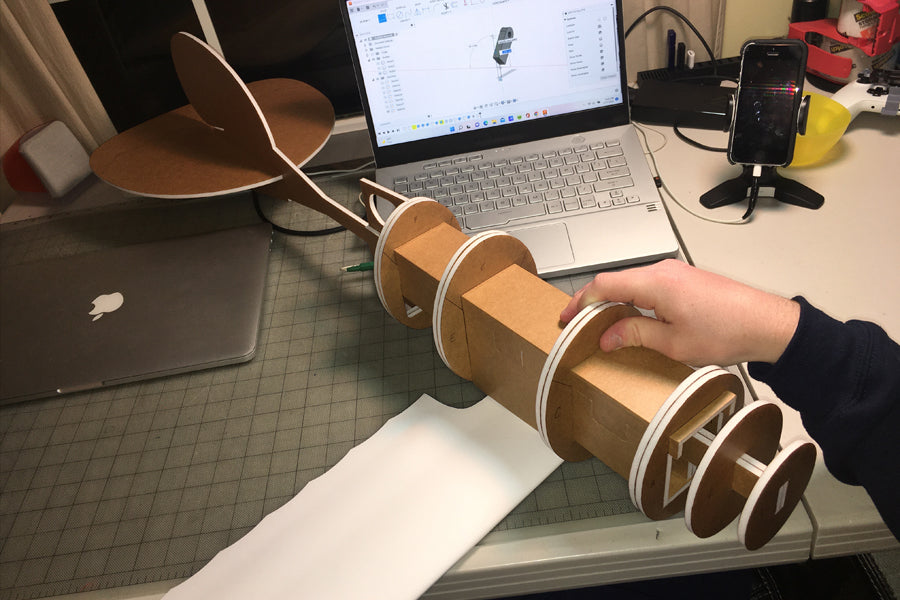
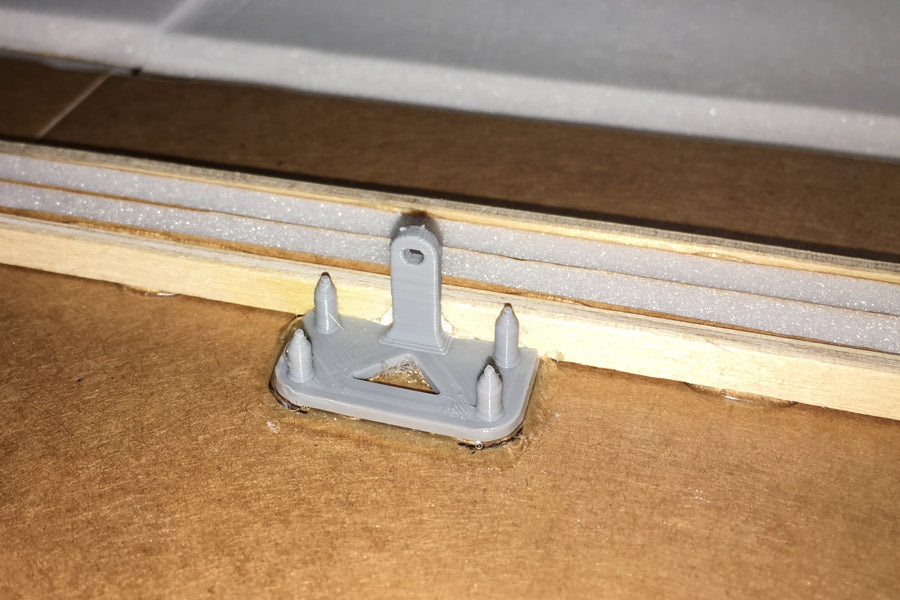
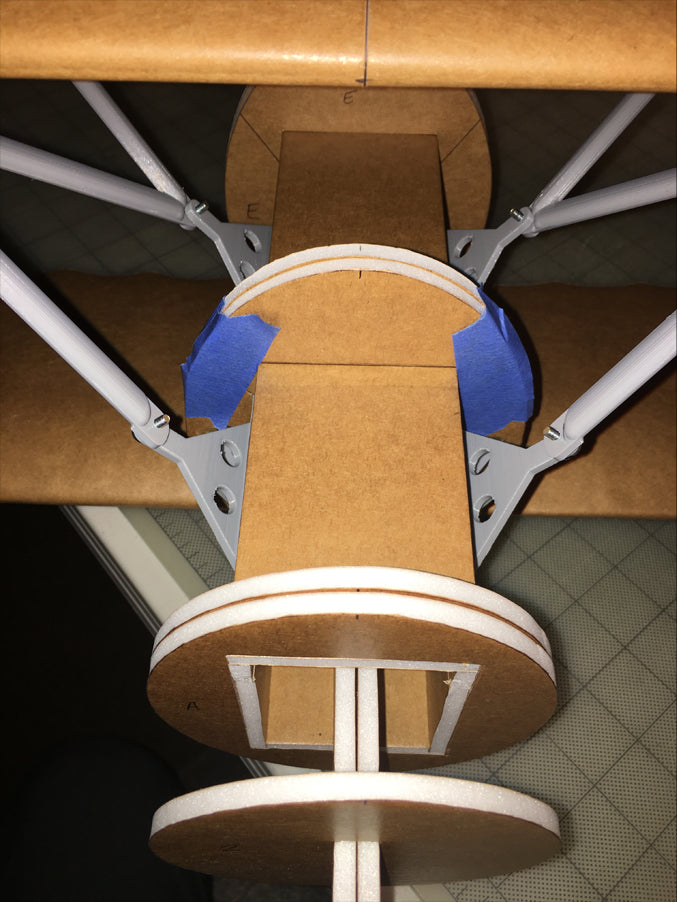
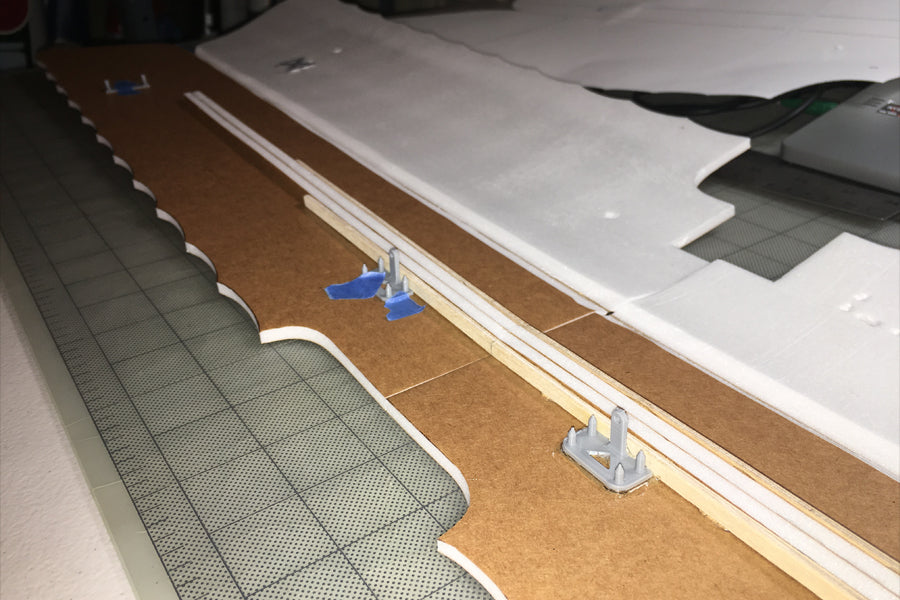
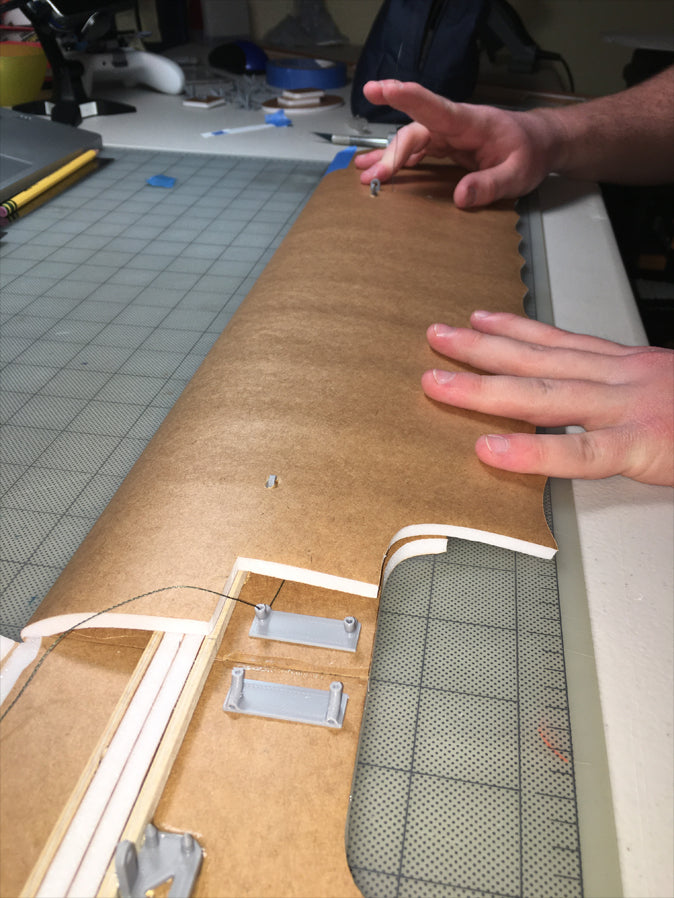
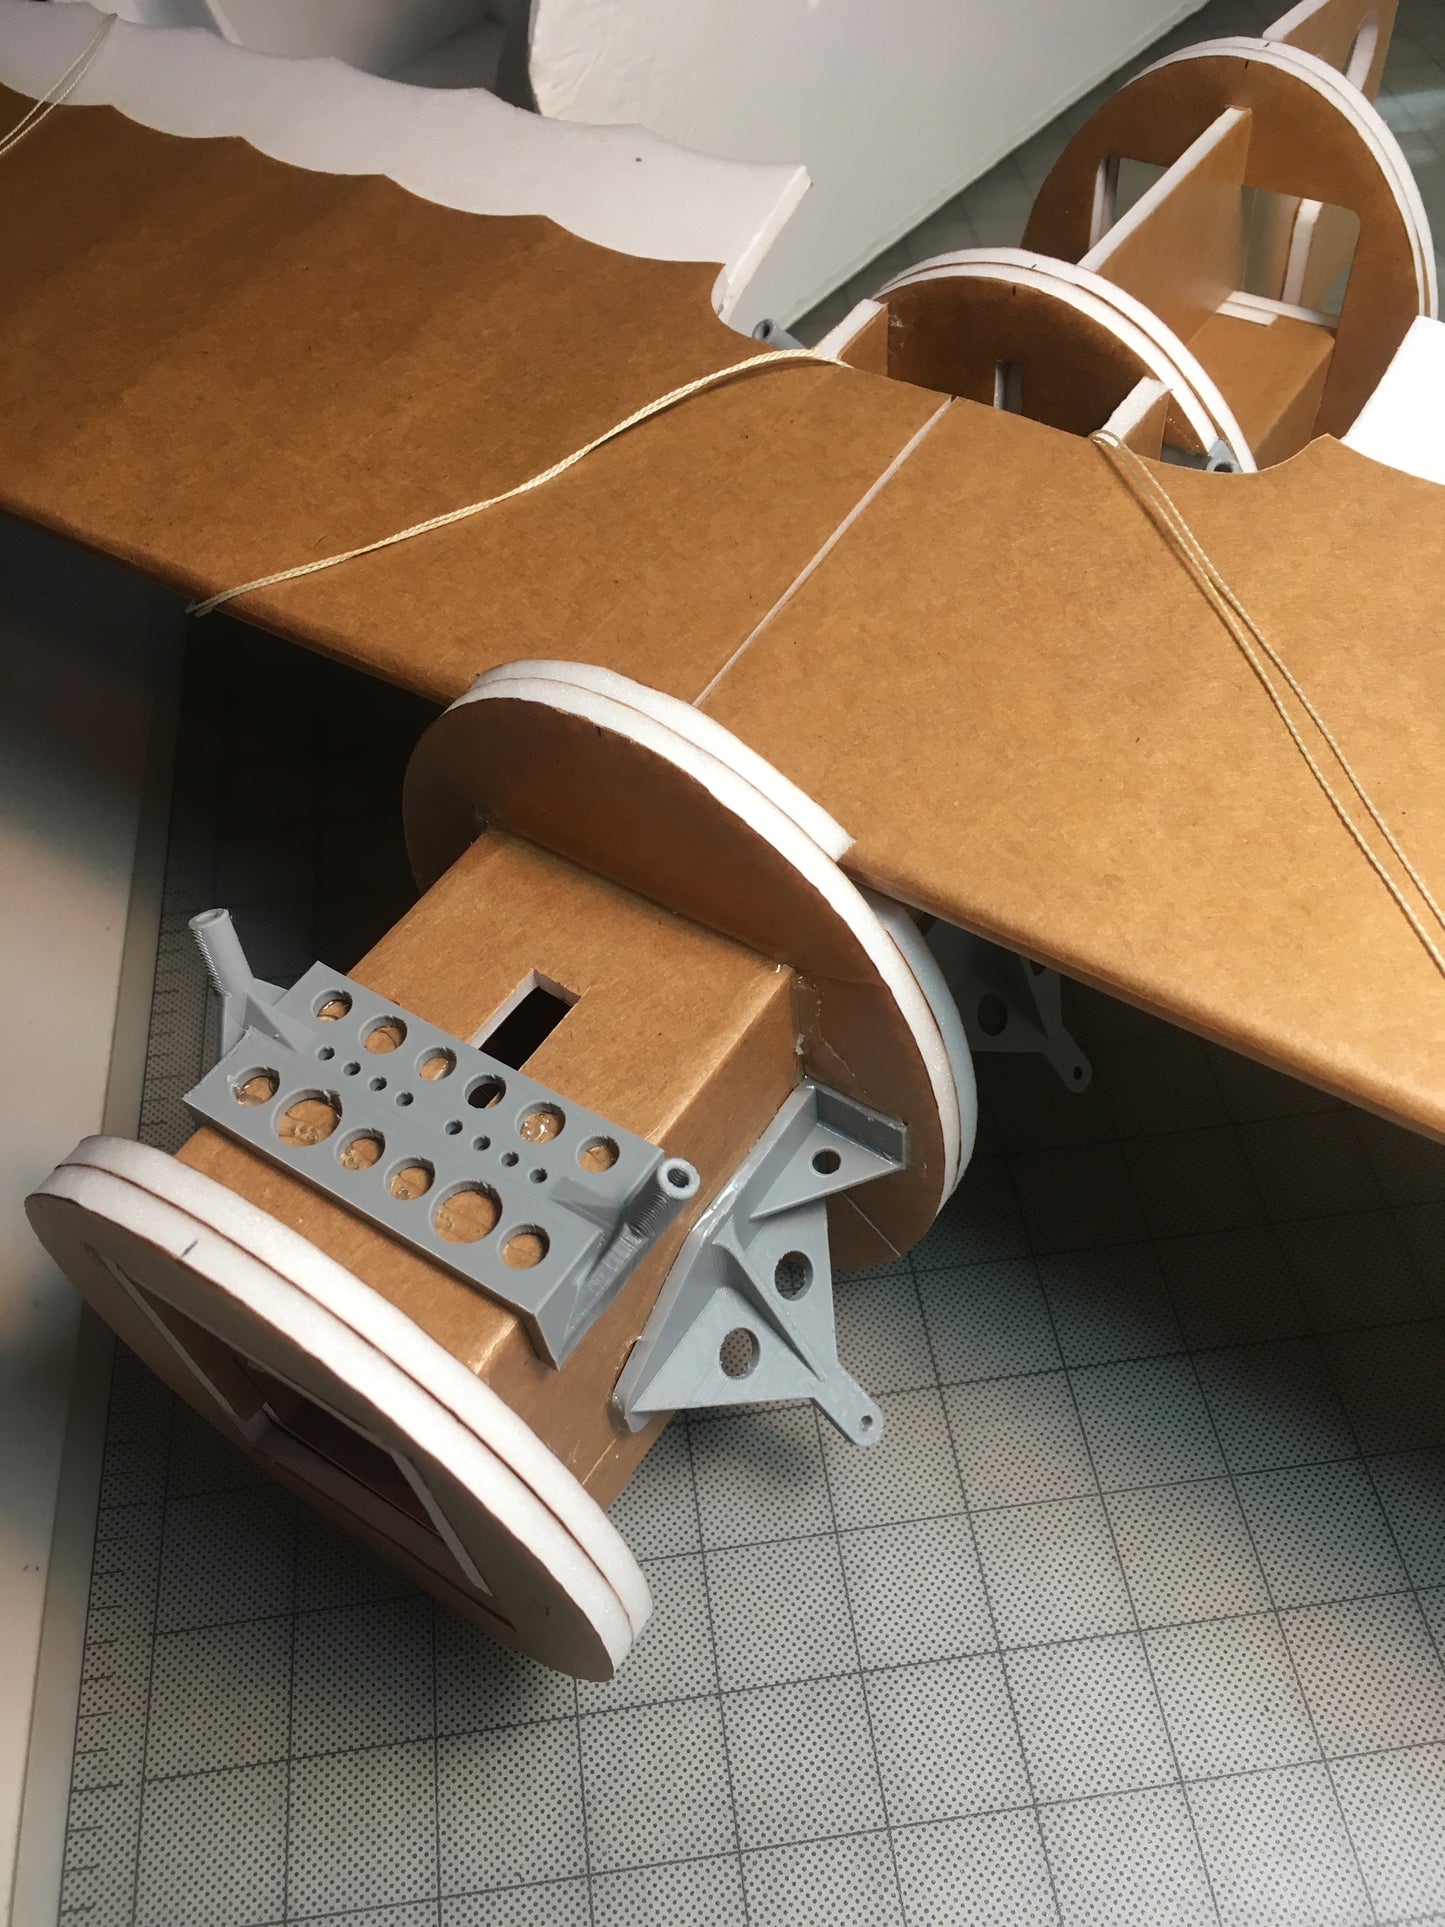
The Albatros DVa has to be the most challenging but most rewarding design of mine at the moment. From it's scale lines to flying characteristics, it is all around a great plane. However, the scale details it comes with makes the build slightly more challenging. If you can build any intermediate molded foamboard airplane you can build this plane. The challenging part is incorporating the 3D printed pieces into the build. Basically, you just have to double check and make sure that you glued all of the correct pieces down before you glue the wing down, or glue a molded piece together, etc. The main areas where you have to be conscience of this is when gluing the wings and gluing the molded pieces around the landing gear mount. If you keep these in mind then this build is not as difficult as it seems.
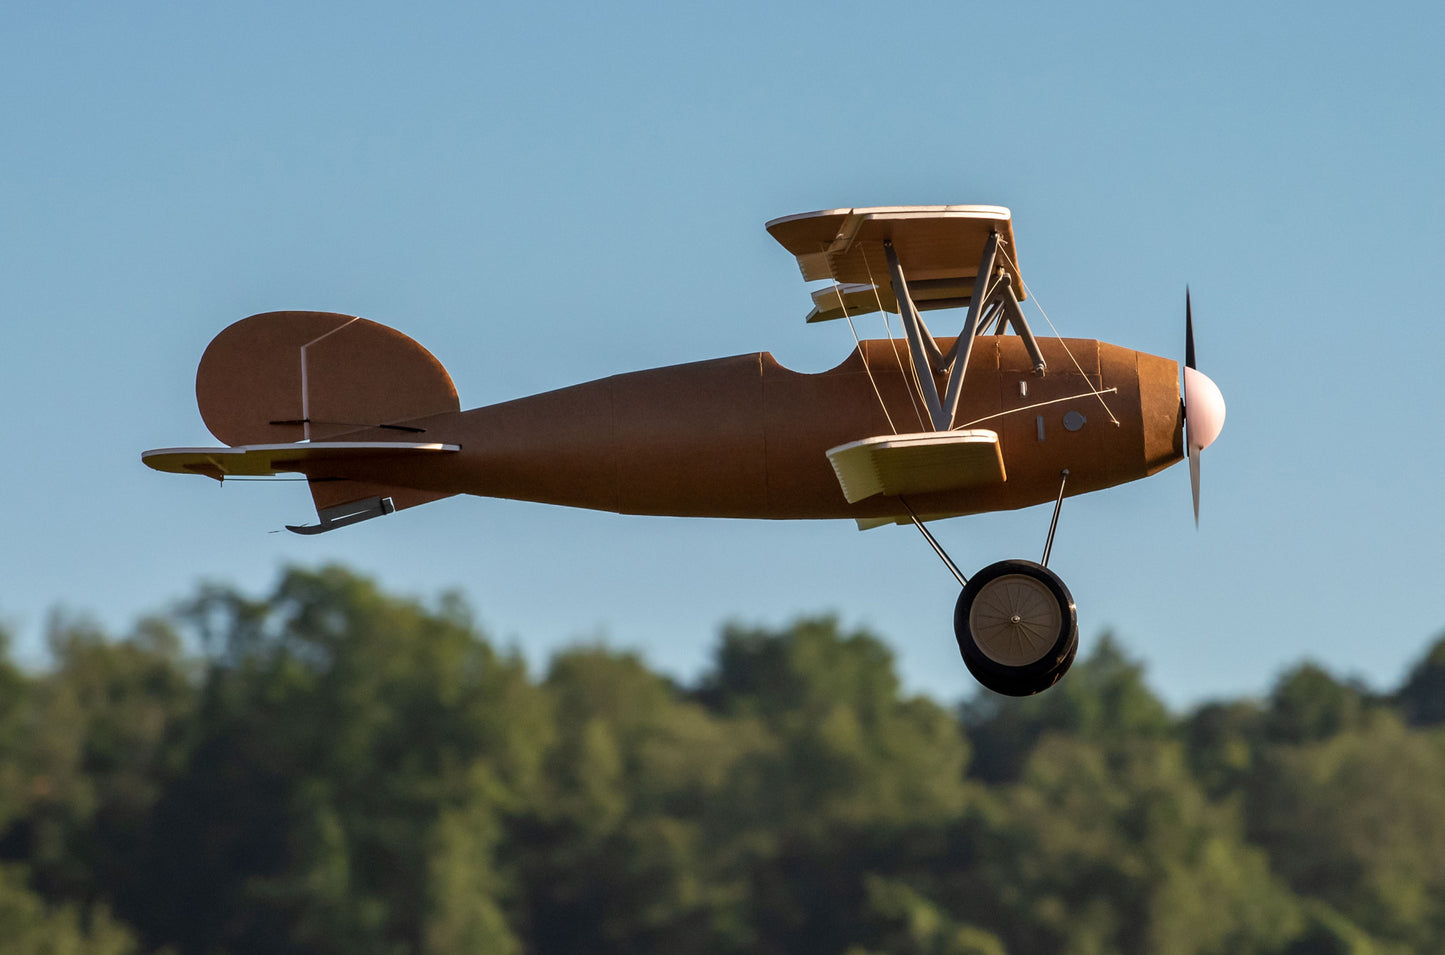
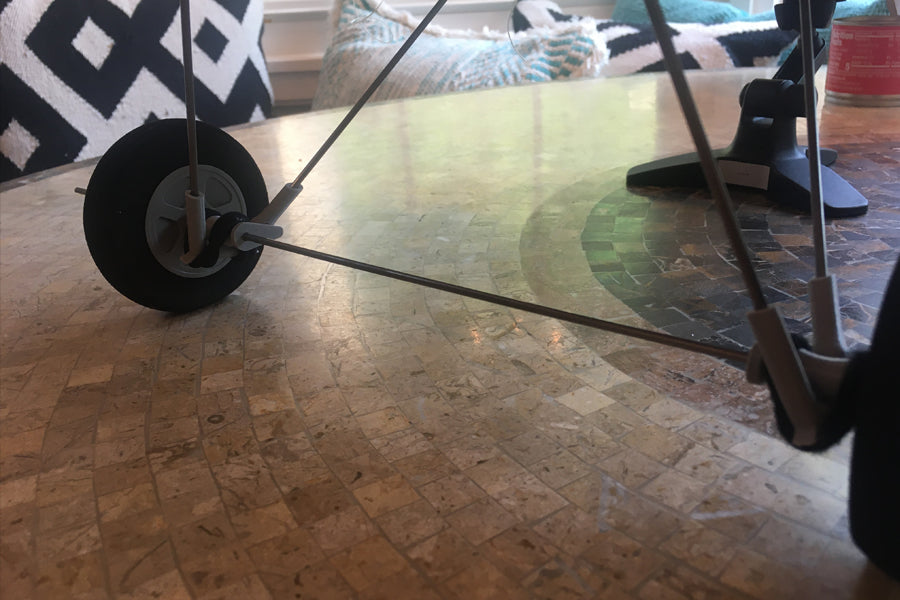
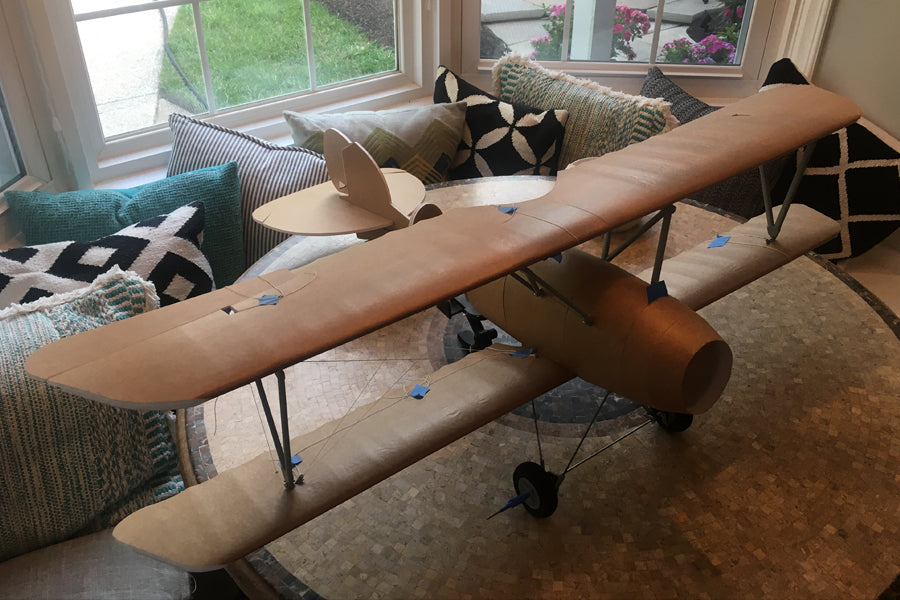
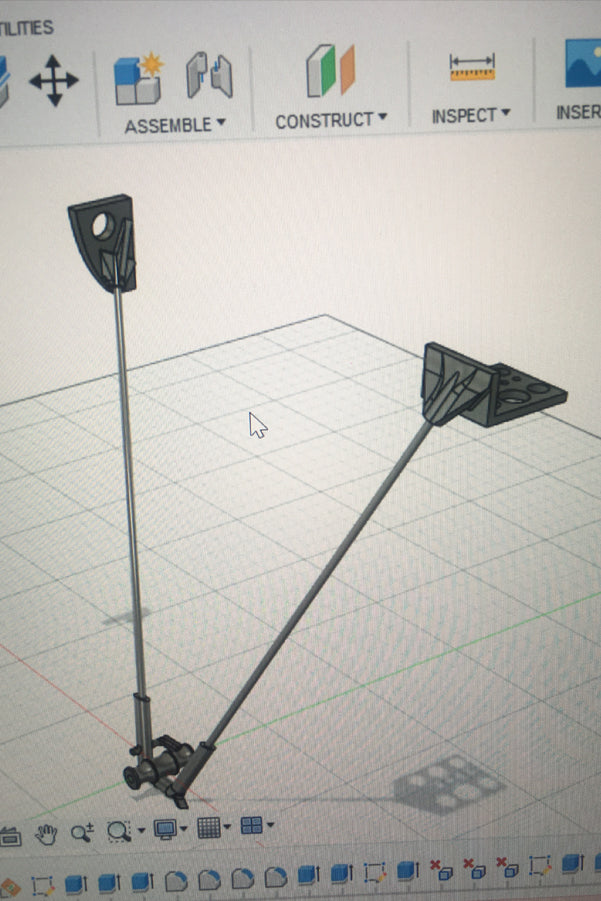
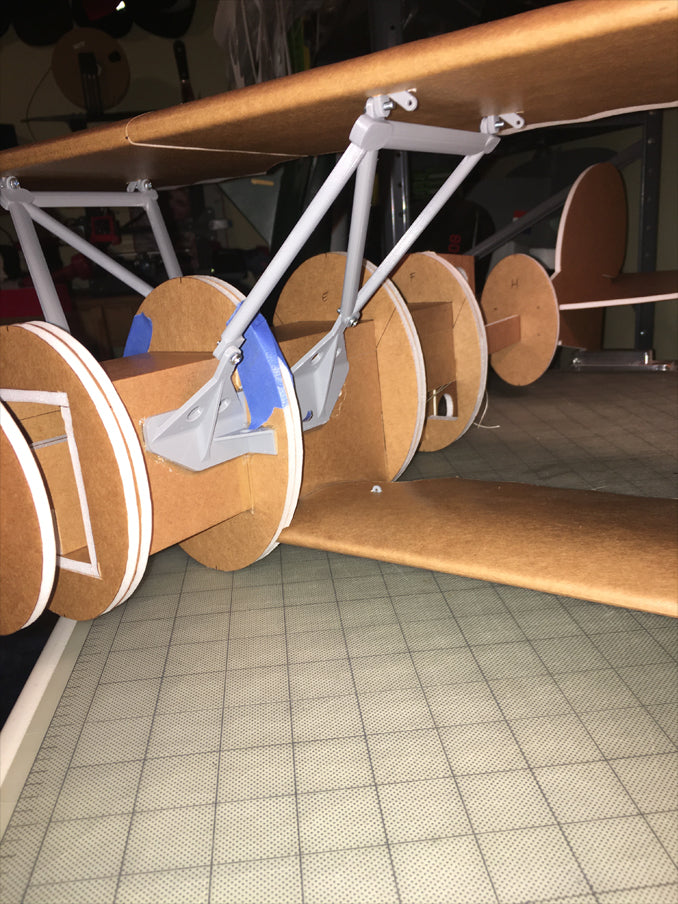
This plane is designed for scale and I wanted to incorporate everything I could into this plane. Everything from scale wing supports and proper fly by wires to scale bungee cord landing gear is in this plane. My favorite part of the plane is the landing gears simple mechanism to smooth landings. The real airframe uses bungee cords for suspension and it hinges at a specific point to allow the wing between the landing gear to change its angle of attack. They did this to slightly increase lift if the pilot has a hard landing and try to make the landing softer. I love seeing these simple techniques on the real plane so I felt that I had to include it in this build. In this design I just use an elastic pony tail holder for the bungee cord.
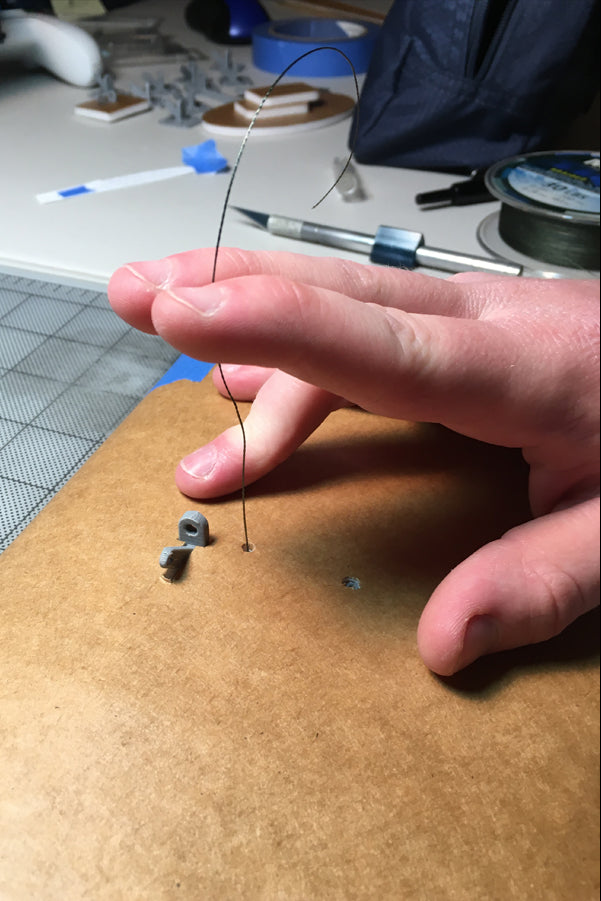
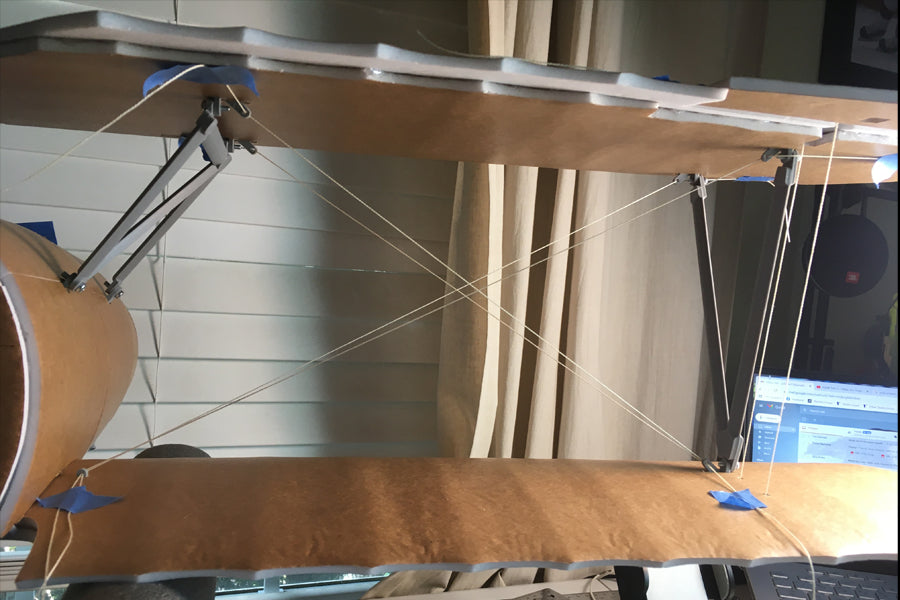
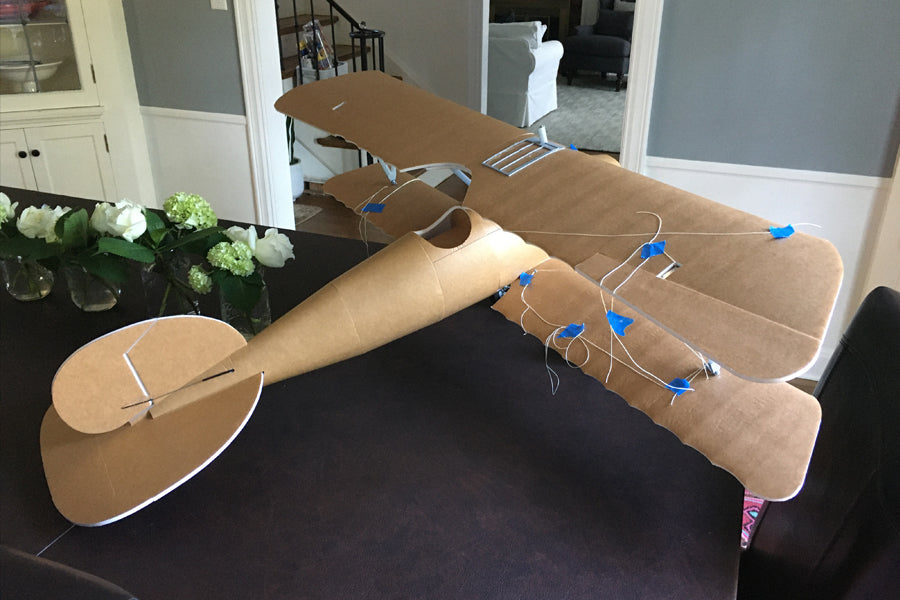
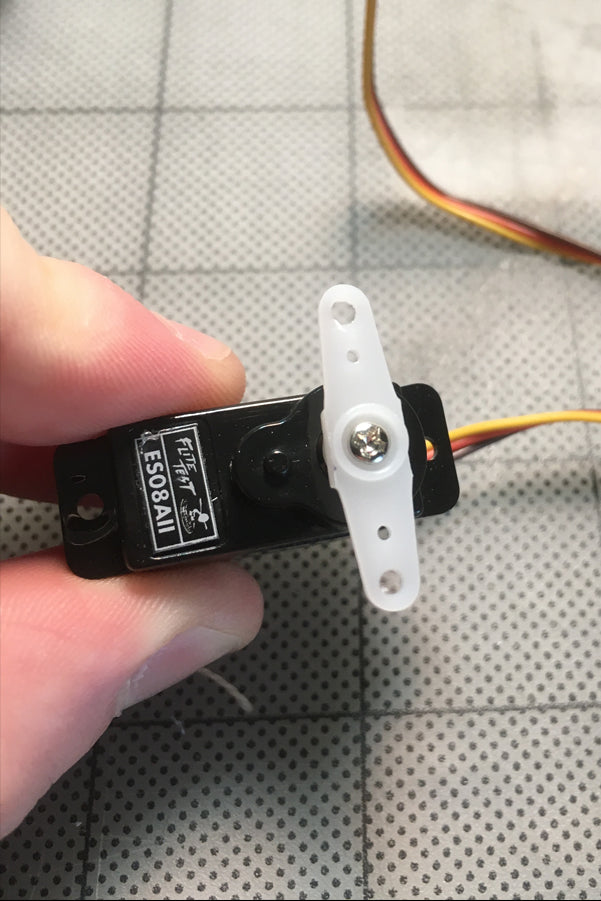
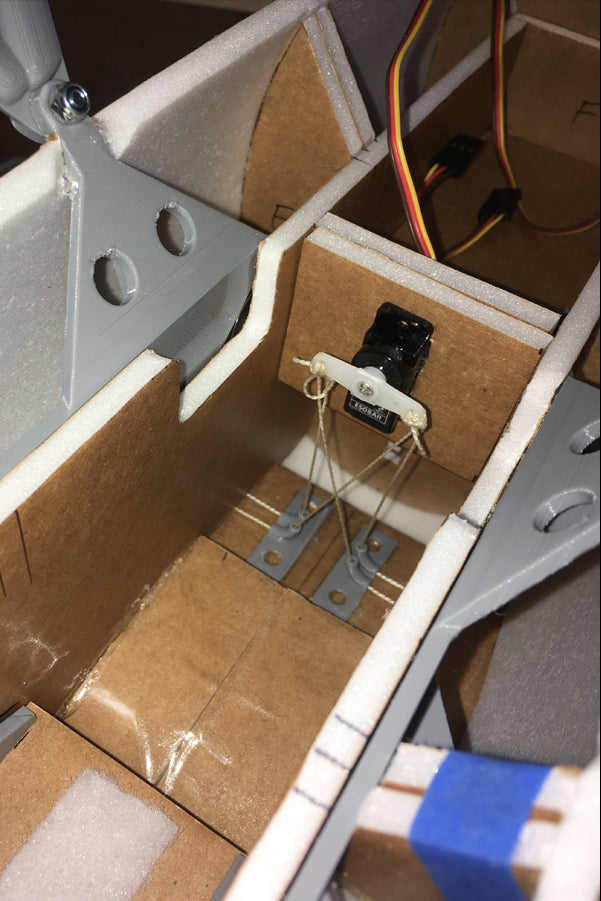
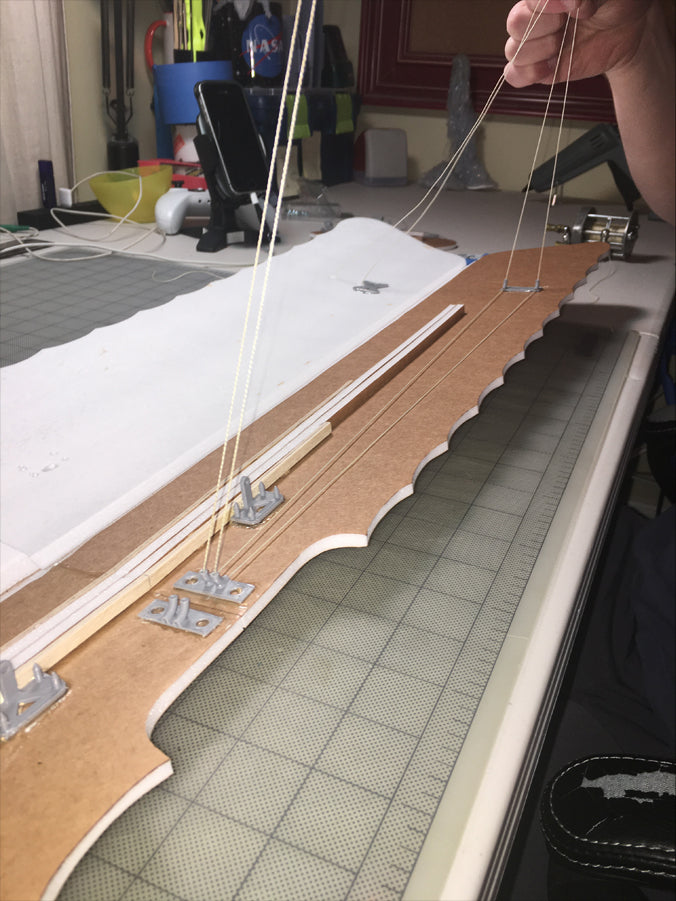
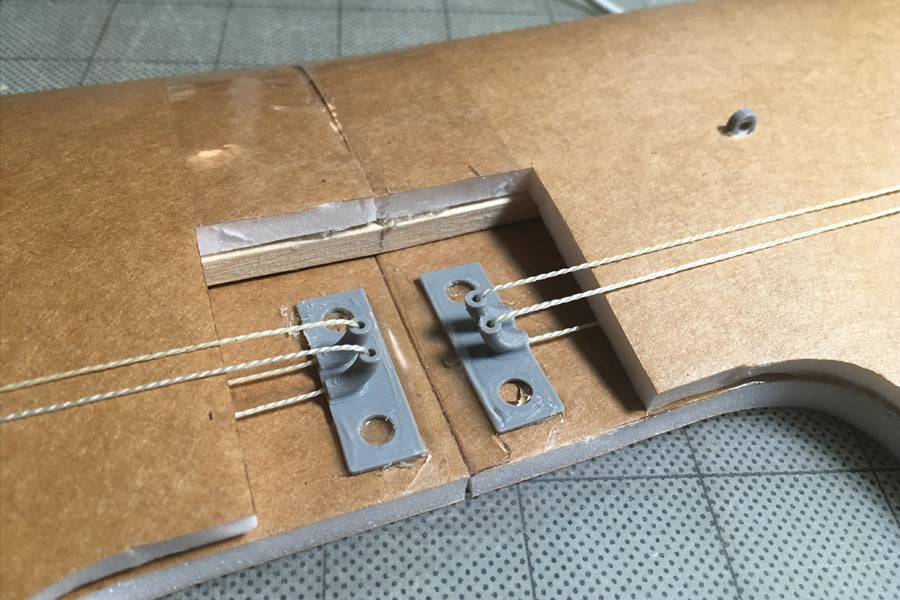
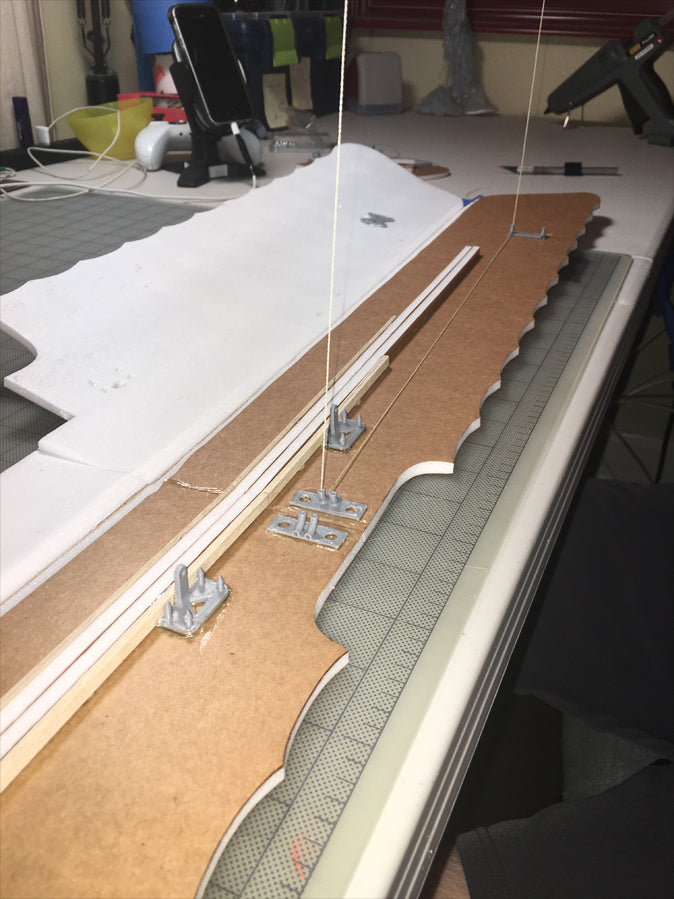
There is one main concern to look at if you're deciding to build this and that is the pull-pull ailerons. This plane is designed to have a pull-pull system using fishing line running through the wings for roll control. I used braided fishing line and braided fishing line only because there is no stretch in it. You have to be careful because you have to tie them to the control horns and any slop will show in performance. When you cut the fishing line for the plane just know that you can always take away length but can't add any. This plane really doesn't need much aileron authority at all and is practically a rudder and elevator controlled plane. Obviously, the pull-pull control will be the most scale but if you don't feel comfortable with this I recommend trying to adapt it to standard style push-pull control with servos in the wing.
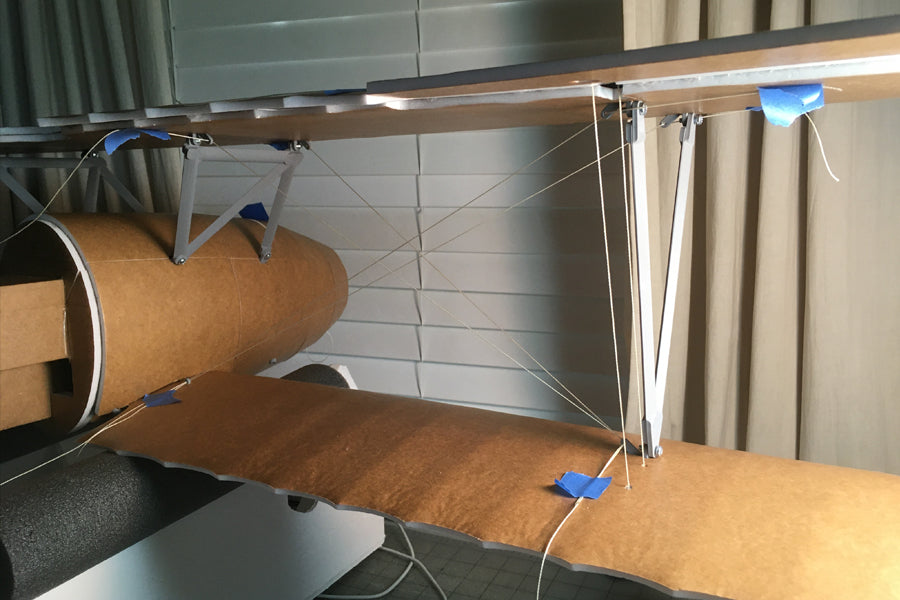
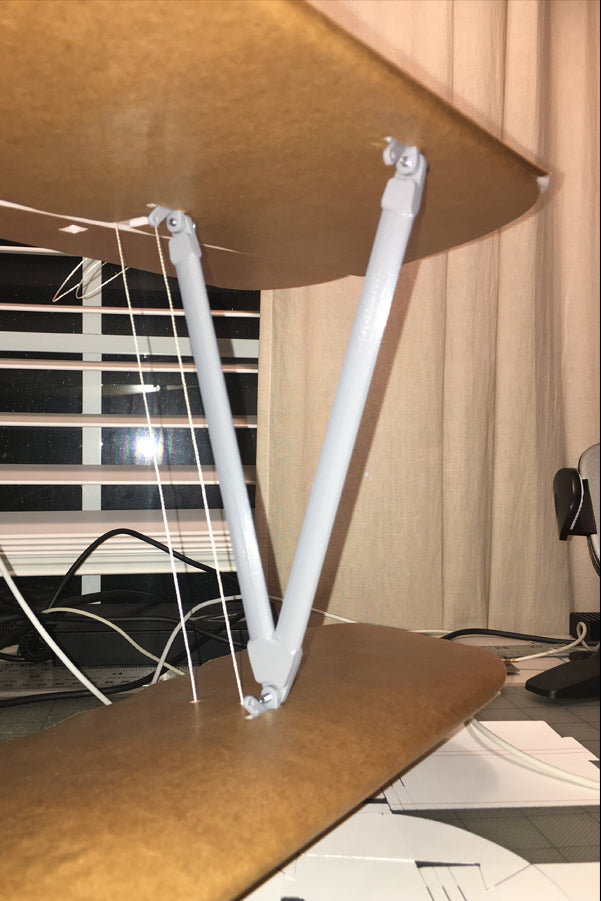
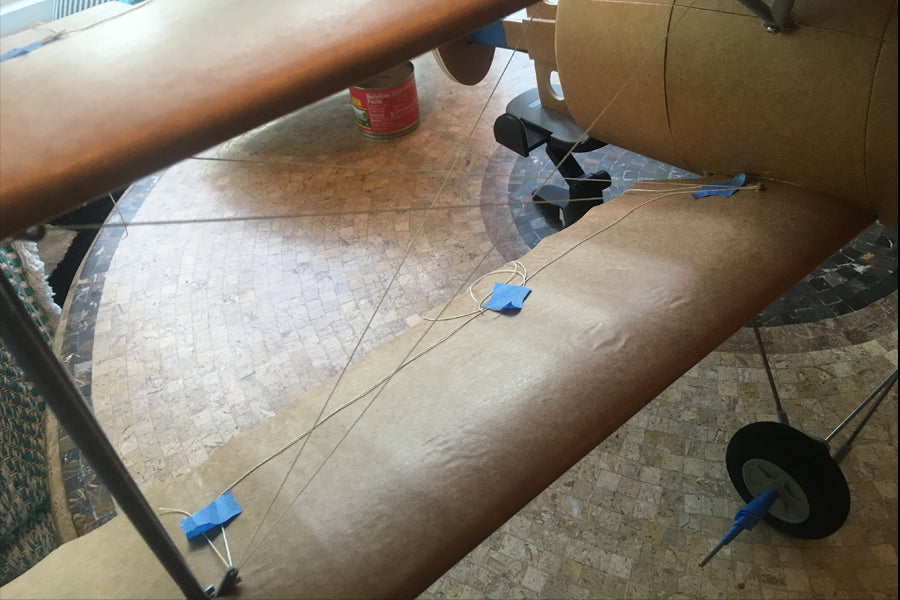
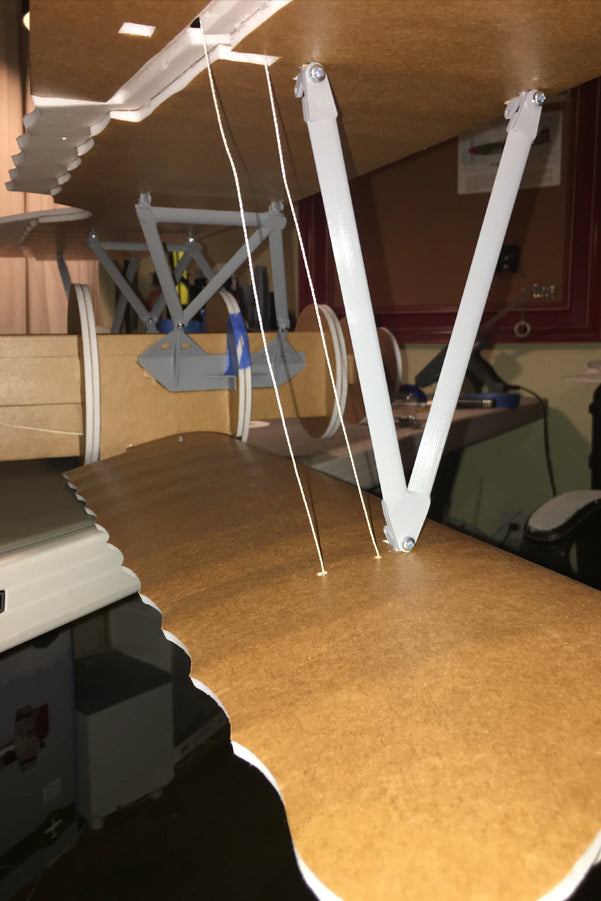
The last note is with regards to the fly by wires and flying characteristics. Just like the pull-pull control the fly by wires must only be tied with braid to reduce any stretching. There are twenty four times where you have to tie the wires down so it is understandable if you want to leave them off. However, I highly highly highly recommend taking the time to tie them on because the airframe is only tested with the wire on. I noticed as I built the plane and it did not have the wires on that the would droop ever so slightly. I would think this wing is more than strong enough to fly without them but I really recommend to take the time and tie on the fly by wires. Lastly, the Alabtros DVa just looks better with the fly by wires.
Specifications
Motor: 2218 1180kV Brushless Motor
ESC: 30-35A
Battery: 3s 1800mah - 2250mah
Wingspan: 48 inches (1219.2 mm)
Center of Gravity: 1 1/2 inches (38.1 mm) from the bottom wings leading edge
Propeller: 10x4.5
3D Print Pieces
All files for this plane can be found here: www.thingiverse.com/thing:614980
Use two hair ties and a small rubber band for landing gear/tail skid suspension(See build photos for references).
All of these pieces should be printed with ABS, SLA, or PETG. (If you choose to print them in PLA, just be careful of leaving the plane in heat/direct sunlight.)
Make sure to glue pieces together with CA/Super Glue, and when gluing them to the foam use Foamtac/foam safe glue.
The screws and nuts I used to connect everything are M3-.50x6 and M3-.50 nuts.
Using 3mm landing gear wire, the front strut length is 173mm and the rear is 186mm.
After each part name in parentheses is how many of that piece need to be printed; (1), (2), (4), etc.
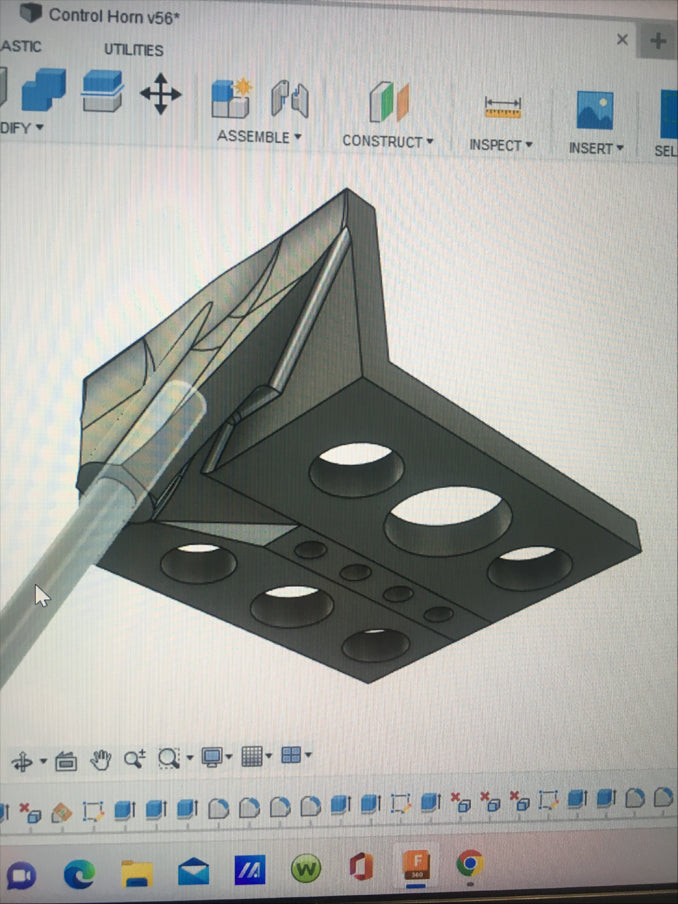
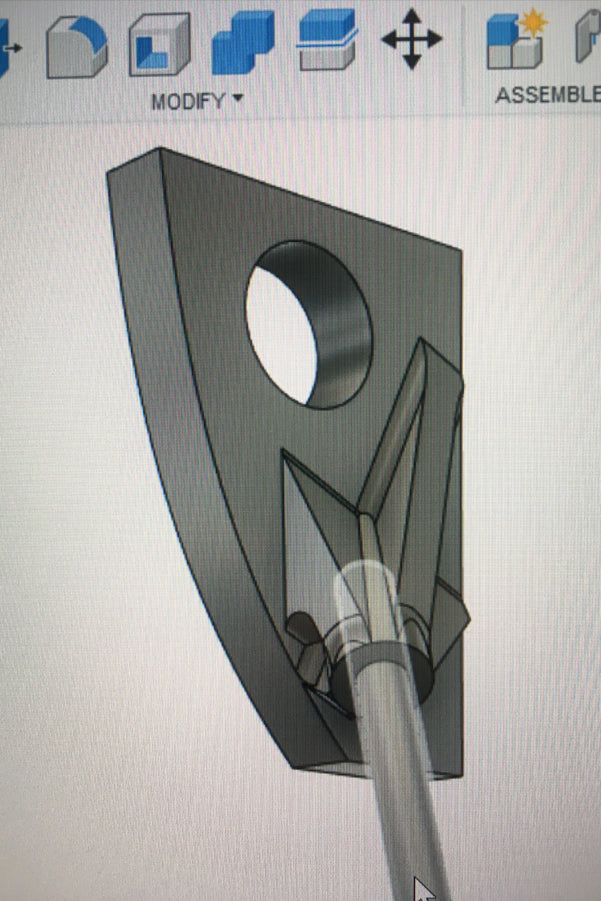
Aileron Control Horn Left (1) - 100% infill
Aileron Control Horn Right (1) - 100% infill
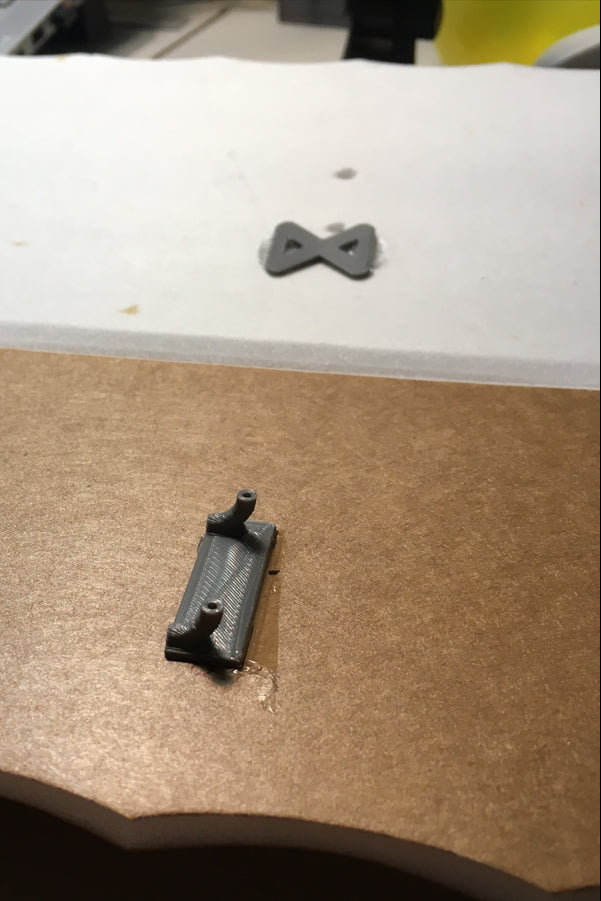
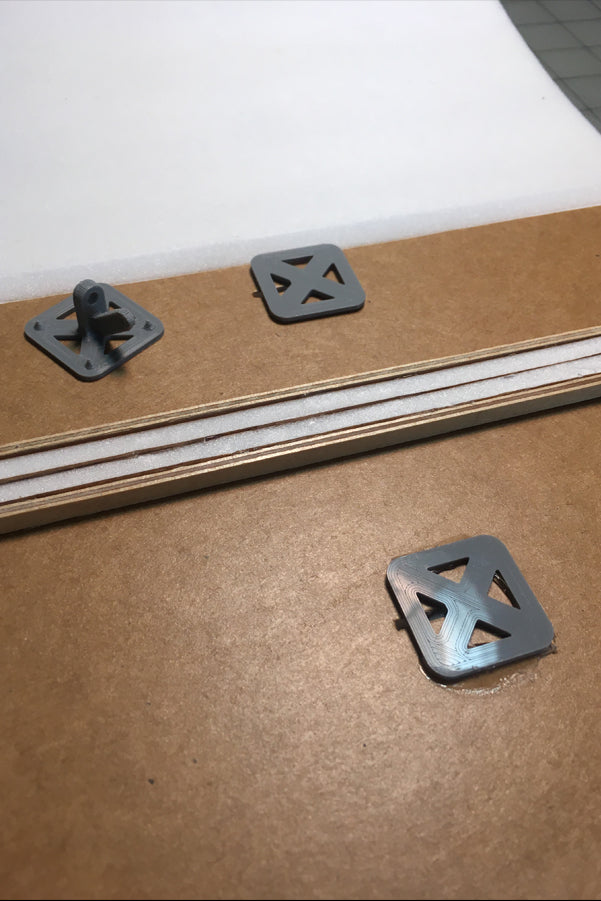
Bottom Center Wing Fly By Wire Mount (2) - 100% infill
Bottom Wingtip Fly By Wire Mount (2) - 100% infill
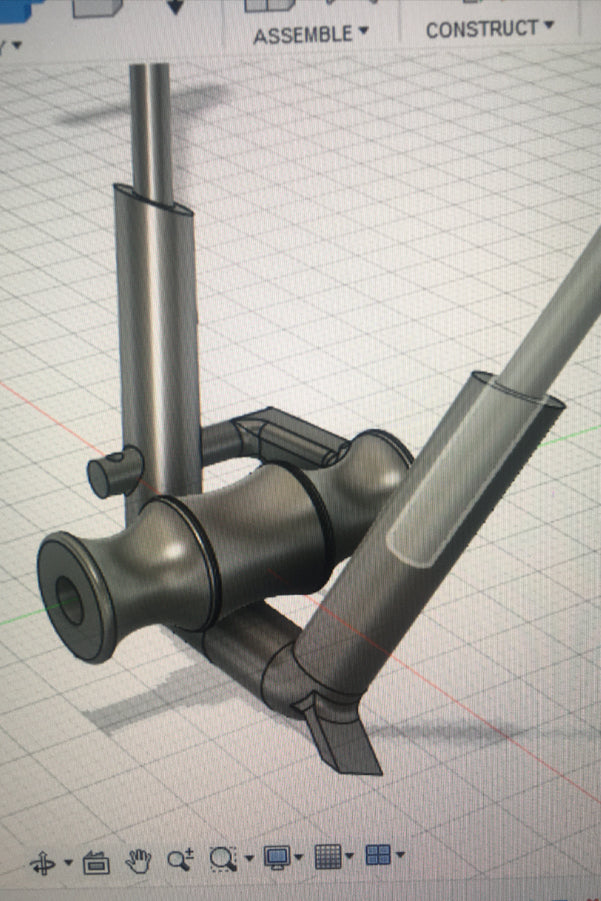
Center String Guide (2) - 100% infill
Engine Cowling Fly By Wire Mount (4) - 100% infill
Fuselage Inner Support Left (1) - 3 walls, 8% infill
Fuselage Inner Support Right (1) - 3 walls, 8% infill
Fuselage Outer Support Left (1) - 3 walls, 8% infill
Fuselage Outer Support Right (1) - 3 walls, 8% infill
Fuselage Support Mount Left (1) - 3 walls, 8% infill
Fuselage Support Mount Right (1) - 3 walls, 8% infill
Landing Gear Connector Left (1) - 100% infill
Landing Gear Connector Right (1) - 100% infill
Landing Gear Hinge (2) - 100% infill
Main Landing Gear Mount (1) - 3 walls, 15% infill
Motor Mount (1) - 3 walls, 15% infill
Rear Landing Gear Mount Right (1) - 3 walls, 15% infill
Rear Landing Gear Mount Left (1) - 3 walls, 15% infill
Tail Skid (1) - 100% infill
Tail Skid Mount Left (1) - 3 walls, 15% infill
Tail Skid Mount Right (1) - 3 walls, 15% infill
Top Wing Fly By Wire Mount (8) - 100% infill
Wingtip Inner Support Left (1) - 3 walls, 8% infill
Wingtip Inner Support Right (1) - 3 walls, 8% infill
Wingtip Outer Support Left (1) - 3 walls, 8% infill
Wingtip Outer Support Right (1) - 3 walls, 8% infill
Wingtip String Guide (2) -100% infill
Wheel Half (4) - 3 walls, 25% infill
Tire (2) - (Use TPU), 2 walls, 20% gyroid infill


